Wednesday, September 3, 2014

WanderLust Wednesday: Bali


For as long as I can remember, I’ve been obsessed with traveling. The first time I can remember getting on a plane was when I was 7, on my way to India for the third time. And the weirdest part is, I don’t only enjoy the “good” parts of traveling; the shopping, the relaxing, the tanning, the being pampered, etc. Oh no, I love it all- the crappy airplane food, the annoying safety demonstration videos, crowded airports, uncomfortable seating, the time changes, ear popping and everything in between. In fact, when I was a child, my parents were nearly disgusted by my love for airplane food. They couldn't understand how the pickiest 7-year old they had ever seen ate the “disgusting” airplane food with no complaints whatsoever. Yes, I was quite the enigma. Anyways, to this day, the thrill of being in an airport, ready to set off somewhere exotic and far away, is unmatched by anything else for me. Hopefully, my love affair with airports, airplanes, and everything traveling will continue to thrive and allow me to explore more of the world.

One of the places I’ve always wanted to visit is Bali. There is just something so incredibly tranquil, quiet, and relaxing about Bali. I would love to just take a month off, fly to Bali, live in a sun-drenched hut-cottage in the middle of the water and lay on the beach all day long, reading books and sunbathing. Sounds like the most perfect vacation!

Look at that gorgeous translucent blue water


OMG I want my own beach side cocoon
Check me in to this gorgeous hotel


Traditional Balinese architecture.


Alright, I'll stop now, before I jump on the next plane to a white sandy paradise!

Tuesday, September 2, 2014

Recipe: Chipotle Garlic Chicken and Mexican Rice Casserole


Being a born and bred So-Cal girl, I have always considered Mexican food as an essential staple of my diet. College was full of late night Taco Bell runs and post-grad life involves a healthy dose of Chipotle on a regular basis. The numerous but equally wonderful combinations of chicken, cheese, and carbs make my mouth water every single time. Unfortunately, many of these dishes also run on the wrong side of the calorie/fat track, particularly the restaurant-style dishes. Not only are the portions enormous, but the all the extra cheese, oil, and sour cream are basically a recipe for disaster (aka a heart attack).These days I've been trying to cook as much as possible and eliminate all mysterious ingredients and empty calories from my diet. So when I came across this recipe for One Pot Mexican Rice Casserole from DamnDelicious' blog, I was beyond excited! I decided to pair it with a simple Chipotle Garlic seasoned chicken breast, and the results were delicious.

Ingredients:
-1 tablespoon olive oil
-3 tbsps minced garlic
-1 onion, diced
-1 zucchini, diced
-1/2 cup corn kernels (I used frozen)
-1 tomato, diced (I went with fresh)
-1 cup brown rice
-2 cups water
-1 tbsp chili powder (or to taste)
-1 tsp cumin
-Sea salt and black pepper, to taste
-1/2 cup shredded cheddar cheese
-Optional: chopped cilantro

1.) I started out by dicing all the vegetables I wanted to throw into my pot. This recipe can be adjusted to include whatever vegetables you prefer. The original recipe calls for bell peppers, but I hate bell peppers and so I substituted mushrooms instead.


2.) After all the chopping and dicing, heat 1 tbsp of oil in a nonstick pan (couldn't find mine, clearly), and toss in the garlic and onions, stirring until the onions turn translucent.


3.) Next is round two of the vegetables. Toss in the zucchini, carrots and corn and stir for another 2-3 minutes until the veggies become nice and tender.


4.) Lastly, toss in the tomatoes and mushrooms, along with the brown rice, 2 cups of water, and spices.


5.) Bring everything to a nice rolling boil, before lowering the heat, covering and cooking for about 25 minutes or until rice is tender (You could also transfer the mixture to a rice cooker and cook it in there).


6.) Once the rice is done, gently fold in the 1/2 cup of cheddar cheese, stirring until well mixed and cheesy all around =].

Super Easy Chipotle Garlic Seasoned Chicken:

Ingredients:
-Chicken breast
-Olive Oil Spray
-Chipotle Garlic seasoning
-Lemon Pepper seasoning
-1 tbsp lemon juice

1.) Spray olive oil on both sides of the chicken breast and thoroughly coat in Chipotle Garlic seasoning and Lemon Pepper Seasoning


2.) Cook for about 7 minutes before covering the chicken breast with lemon juice and re-seasoning a little bit.
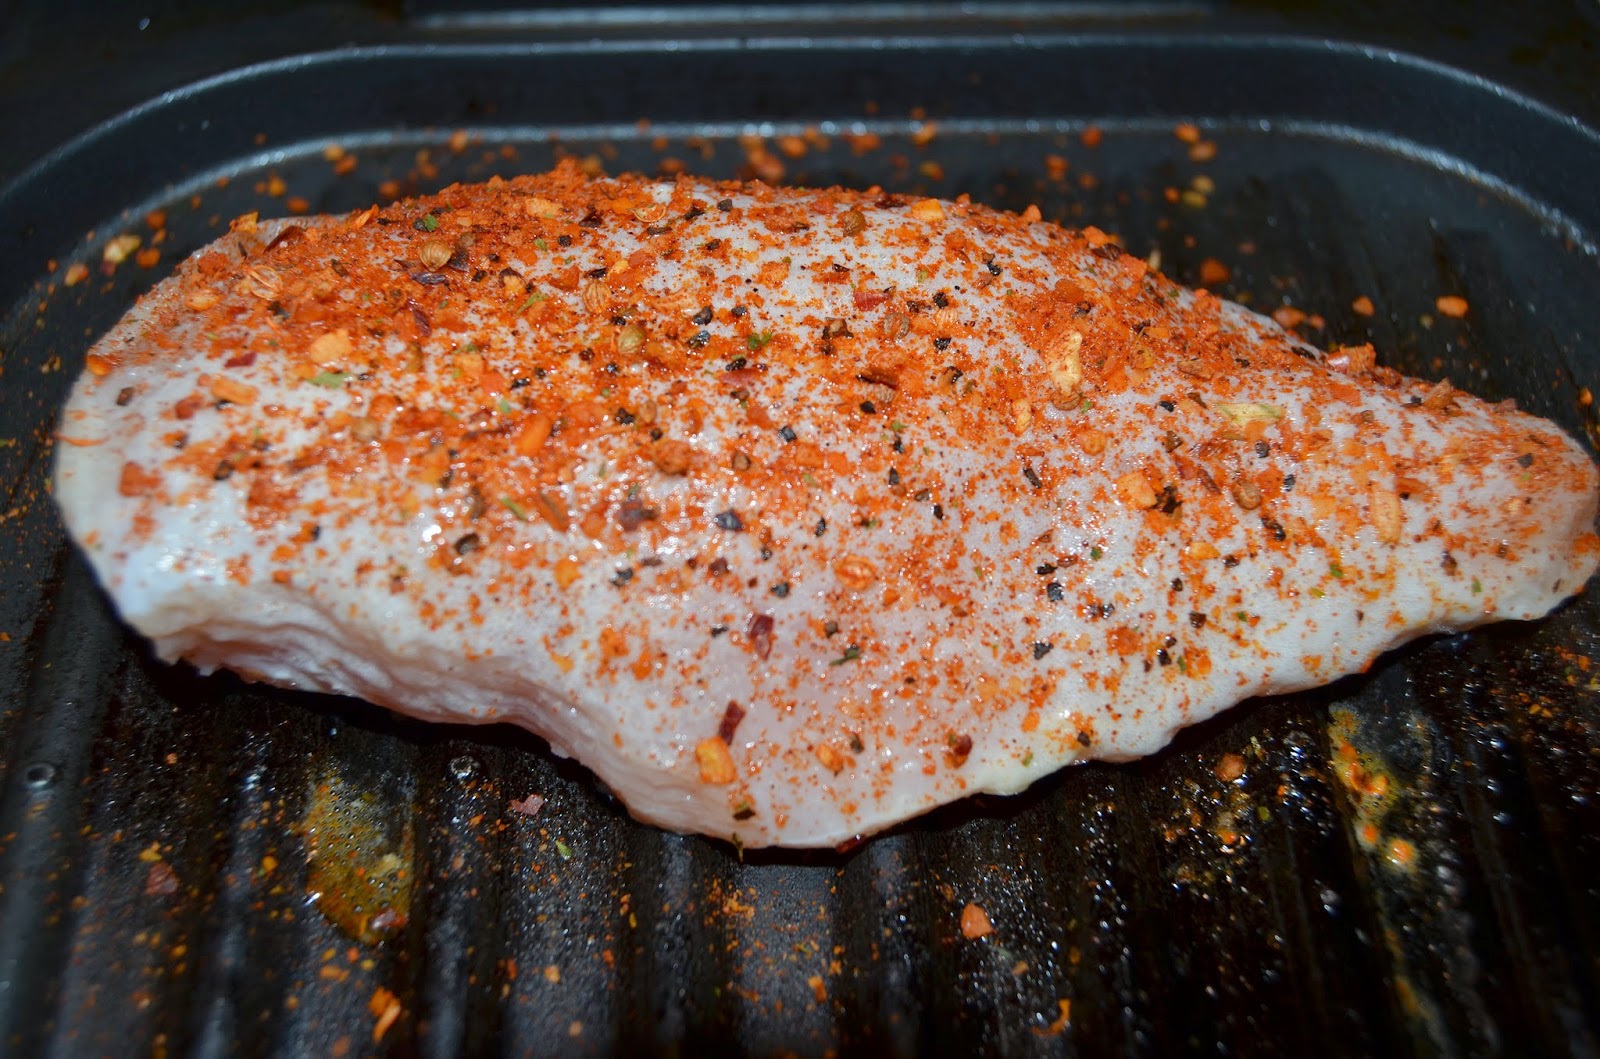


3.) Cook for another 4-5 minutes or until done, and enjoy!


Recipe: Homemade Granola Bars- 5 Ingredients


Another recipe from this weekend! I was browsing my cousin's amazing blog (newmomandthecity.blogspot.com) the other day and found this super easy recipe for granola bars! Now I personally happen to be a huge fan of granola bars...I eat them from breakfast every single day and usually as a mid-afternoon snack as well. They're the perfect snack on the go, whether you're looking for a quick protein fix after an intense workout, need a little sustenance to survive the afternoon lag, or just need a pick me whilst out shopping (Yes, I carry granola bars in my purse at all times just in case I get hungry while I give my credit cards a workout ). Plus nowadays, they have so many different types with all the ingredients you could ever imagine: dark chocolate chips, almonds, pistachios, walnuts, chia seeds, flax seeds, peanut butter, cranberries, blueberries, etc. My only problem with them is the weird chemicals and preservatives hidden away in the ingredients list. I like knowing what I'm eating, and even the cleanest ones I could find (I've been eating the Kashi Dark Chocolate and Sea Salt ones) have mysterious ingredients that I don't see in the bar. So when I found this recipe I was super excited and couldn't wait to try it! It only takes about 20 minutes to make and the results are delicious.

Ingredients:
-1 cup pitted dates (I used Costco's Medjool Dates)
-1 1/2 cups oats (I used Quaker Instant Oats)
-1/4 peanut butter
-1/4 honey
-1 cup chopped almonds


1.) This is technically an optional step, but I roasted my oats first, because I prefer the taste. Turn up the oven to a nice toasty 350 degrees and roast them for about 10-15 minutes, moving them around occasionally.


2.) Process the dates in your food processor until they form a nice sticky round ball


(Yummmmm)
3.) Combine the dates dough, chopped almonds (just pulse them in the food processor for a few seconds), and roasted oats in a large mixing bowl.


4.) Pour the honey and peanut butter into a small, non-stick saucepan and heat it up on the stove over a low flame for about two minutes. Stir constantly.


5.) Pour the peanut butter-honey mixture into the mix and stir thoroughly. I used a fork to mix it properly.


6.) Spread the mixture into a pan, pressing tightly, and allow the mixture to harden (10-15 minutes). Cut into bars and enjoy.


Let's see how long these last!

Monday, September 1, 2014

SoCal Girl's DIY Crafts: Decorative Paper Flower Pomanders

DIY Paper Flower Pomanders by Project Nursery
While scouring Pinterest and other DIY craft websites for ideas, I found these absolutely stunning decorative paper flower pomander centerpieces that could easily be altered to fit any color theme. Furthermore they seemed rather simple to make, and yet looked so elegant and unique. I was intrigued. After a quick trip to JoAnn's, I gathered all the required material and set about trying to recreate this. Much to my surprise, it turned out to be extremely easy and looked rather stunning, if I do say so myself.

Materials:
-Paper flower lever punch (I used the Fiskars Burst one)
-Lots of light pink paper
-Pale pink pearlized corsage pins (I used 60)
-Styrofoam ball (I used a 5 inch one)

First, I used the puncher to cut out about 150-200 flowers
Next, I curled the petals of each flower to give them some volume, layered them on top of one another, and stuck a corsage pin through the center
Once I had about 50 or so "flowers" assembled I began pushing them into the Styrofoam ball in a random pattern until every surface was covered

And voilĂ 

Recipe: Pomegranate Lemonade Spritzer

The troublesome sister, M, came home from college for the three-day weekend and it’s been quite busy ever since. Grandmother is on a mission to force feed M until she spontaneously combusts, and the rest of us have been forced into food comas by default as well. The weather decided to heat up for the weekend, and the last two days have both been over a hundred degrees, forcing us to stay indoors for much of the day in order to avoid a heat stroke. We've been sticking to watching movies, playing cards with the grandparents, going to a garden party that made us feel as though we were in a sauna, and shopping all the awesome Labor Day sales. Sunday afternoon, M and I decided to make a light and refreshing drink to quench our thirst and help us cool off from the scorching heat. This pomegranate lemonade spritzer recipe looked absolutely wonderful, and since we have a lemon tree teeming full of lemons right in our backyard, we decided to go ahead and try it. The ingredients list was nice and short and the recipe extremely simple, yet delicious. 

Pomegranate Lemonade Spritzer:


Ingredients
-1 cup freshly squeezed lemon juice
-1 cup pomegranate juice (I used Pom)
-1/2 cup sugar
-4 cups of water + 1 cup of water
-club soda
-lemon wedges for garnish


1.) The longest and most tiresome step of this recipe was plucking the lemons off the high branches of our tree and then squeezing all of them to make 1 cup of juice.


2. I set aside the lemon juice and set about making the simple syrup. I quickly combined half a cup of sugar with 1 cup water and set it on the stove on low heat, stirring occasionally. Within 2-3 minutes, the mixture became nice and clear and I took it off the heat and set it aside to cool.


3.) While the simple syrup cooled, I poured the lemon juice and pomegranate juice into a nice, tall
pitcher, and once the syrup cooled, I added that as well.


4.) Next came the water. I used 4 cups of water because I prefer a sweeter, stronger taste to my lemonade, but if you prefer a lighter, less sweet lemonade go ahead and add an extra cup or two of water.


5.) Lastly, I garnished the glasses with a few lemon wedges, poured half lemonade and half club soda into each glass and kicked back to enjoy.


M and I enjoyed our spritzers with frozen mini lemon bars. Such a perfect afternoon snack.