Showing posts with label recipe. Show all posts

Sunday, November 23, 2014

Recipe: One Pot Veggie Fried Rice


On Friday night, A came over to watch the second installment of Lord of the Rings, The Twin Towers, and she taught me how to make an easy one pot veggie fried rice with brown rice. It was quick, healthy, and oh-so delicious, so I figured I would share the recipe!

Recipe: One Pot Veggie Fried Rice
Ingredients:
-1 cup brown rice
-4 eggs (I used all 4 of the egg whites, but only 2 of the yolks)
-1 cup frozen vegetables
-1 cup sliced mushrooms
-3/4 cup bean sprouts
-4 tbsp Soyaki sauce
-1 tbsp olive oil
-2 tbsp Sriracha
-1 tbsp red chili powder, optional
-Himalayan pink salt, to taste
-Black pepper, to taste


1.) Cook the brown rice according to the directions on the package, and while the rice is cooking, chop/dice/thaw out all your vegetables. Now I'm normally a huge fan of fresh ingredients, but I made an exception in this one case and went with a frozen medley. Once the rice is done cooking, set aside and allow to cool.


2.) Whisk together the eggs (I only used two of the egg yolks but feel free to use the whole egg or just the egg whites, it wont make a difference). Toss in the chili powder (optional) and a pinch of salt, and continue whisking until the eggs are light and airy.


3.) Set a pan over medium heat and heat up 1 tbsp of olive oil. Once the pan is hot enough, toss in the frozen vegetables and let them cook.


4.) Once the frozen vegetables are almost fully cooked, toss in the mushrooms and bean sprouts, along with a healthy pinch of salt and pepper.


5.) Stir fry the veggies until they are fully cooked and starting to sear a little bit. All the water and moisture from the bean sprouts should be gone.


6.) Stir in the eggs and as they start to cook, fold in the vegetables.


7.) Continue stirring the mixture until the eggs and veggies are well incorporated and resemble scrambled eggs.


8.) Toss in the cooked and cooled brown rice and gently stir it in to the egg and vegetable mixture.


9.) Add the Soyaki and Sriracha to the rice and stir thoroughly, but without smushing the rice.


10.) Add more Sriracha or Soyaki per individual taste. Obviously I added a bit more Sriracha because I like my fried rice spicy.


11.) Serve immediately and enjoy =] We had ours with a side of meat-less Mandarin Chicken from Trader Joe's.


Saturday, November 22, 2014

Recipe: Mint Chutney


My first attempt at making the ubiquitous mint chutney present in oh so many Indian dishes was successful! Hooray! Being an American-born Indian girl, I've grown up eating an interesting mix of Indian and American cuisines and have experimented with my fair share of fusion dishes. While Indian food in general may not always be my favorite cuisine, Indian chaat and/or street-food will always make my list. I won't go into chaat specifics (I'll save that for a different post), but an integral part of the wonderfulness that is chaat is the chutneys used. Chutney can make or break any chaat and take it from being an average snack to a magical experience. 

Aside from chaat, mint chutney can be used in a variety of dishes and is going to soon become a staple in my fridge. I think my two favorite uses for it (besides with chaat and samosas) are with aloo (potato) sandwiches and with chicken (stay tuned for those recipes). 

Recipe: Mint (Green) Chutney
Ingredients:
-1 cup fresh mint leaves
-1 cup fresh cilantro leaves
-2 tbsp lemon juice
-1-2 green chilies, chopped (I used 2 because I like my chutney spicy)
-1 tsp ginger, optional (I'm not a fan of ginger so I didn't use it)
-1 tsp cumin (jeera) powder
-Himalayan pink salt, to taste

1.) Wash and chop 1 cup of mint leaves, 1 cup of cilantro leaves, and the green chilies.  

2.) Squeeze about 2 tbsp of lemon juice into the blender and added the mint, cilantro and chilies.

3.) Add the cumin powder, salt, and ginger to the blender, along with about 2 tbsp of water.

4.) Blend into a fine paste, adjust consistency to your liking by carefully adding water.

5.) Enjoy immediately or store in an airtight container (should last for 3-4 days).

Tuesday, November 18, 2014

Recipe: Parmesan and Spinach Orzo


So I was craving something creamy and carb-y yesterday, and decided to go with this Parmesan and Spinach Orzo recipe that I had found a few months ago on Damn Delicious. I know Parmesan and Spinach Orzo is meant to be a side dish, and it probably would have been a lovely compliment to grilled chicken or maybe even grilled salmon, but I definitely enjoyed mine as a main dish and don't regret it for a second. 

This dish is wonderfully light, and very simple to make. I actually had all the ingredients on hand, and didn't have to run out to grab anything which was so nice. I made the dish very close to the original recipe, deviating only when it came to the amount of garlic (doubling the amount required because I LOVE garlic). However, the next time I make this dish, I think I might leave out the onions because they added a somewhat unwanted taste and texture. 

Parmesan and Spinach Orzo:
Ingredients:
-1 cup spinach, chopped
-1/2 onion, diced
-2 tbsp garlic, crushed 
-1/2 cup orzo
-1/2 cup milk
-1/4 cup Parmesan cheese
-1 tbsp all-purpose flour
-1 tbsp olive oil
-Salt, to taste 
-Pepper, to taste


1.) Wash and chop up the spinach roughly and dice the onions finely


2.) Boil the 1/2 cup orzo in salted water according to the instructions on the packaging (about 7-9 minutes).


3.) Heat up the olive oil in a pan over medium heat. Toss in the onions and garlic and cook until the onions are translucent/slightly browned (3-4 minutes). (I cooked mine for about a minute longer because I like my onions browned)


4.) Stir in the all-purpose flour and cook until it's slightly browned (1-2 minutes).


5.) Carefully stir in the milk and continuously whisk it until the mixture begins to thicken (2-3 minutes). Mine turned out a little browner than expected because I browned my onions a bit more.


6.) Toss in the spinach and cook until it wilts (2-3 minutes).


7.) Stir in the Parmesan cheese until melted (about 1 minute)


8.) Gently stir in the cooked orzo into the sauce and toss until thoroughly coated.


9.) Serve immediately and enjoy!


Tuesday, November 11, 2014

Recipe: Jalapeño Popper Mac and Cheese


Oh sweet baby Jesus. This might be my new favoritest thing in the world. I think I can safely say I would trade in an arm and a leg AND my first born for an endless, calorie-less supply of this (my first born is really going to hate me - this may or may not be the third time I've offered to trade him or her in for some food item)! Anyways, I digress. Last weekend, A and I decided to have a Lord of the Rings + Jalapeño Popper Mac and Cheese + Curry Fries indulgence-fest. A thoroughly reprimanded me after having discovered that I never properly watched the Lord of the Rings trilogy (it doesn't count if you watch it from underneath a blanket apparently), and so we decided to have a marathon night with proper culinary accompaniments. We wanted to recreate our experience at The Homeroom in Berkeley, and found this recipe that seemed to match the creaminess and richness we so desired. 

Jalapeño Popper Mac and Cheese
Ingredients:
-1/2 lb whole wheat penne paste (or any pasta of your choice)
-4 tbsp unsalted butter
-3-4 jalapenos, chopped
-1 1/4 cup half-and-half
-8 oz cream cheese, softened
-2 ounces Gruyere cheese, grated
-4 ounces sharp Cheddar cheese, grated
-1/2 tsp cayenne pepper 
-1/2 cup Italian-style bread crumbs

1.) Bring a large part of salted water to a boil, and cook the pasta until it's al dente, approximately 6 minutes. Drain and reserve about 1 cup of the pasta water.

2.) Melt the butter. Set aside half of it, and gently stir in the chopped jalapenos into the remaining butter, cooking until softened, and set this aside as well (I chopped my jalapenos after cooking them).


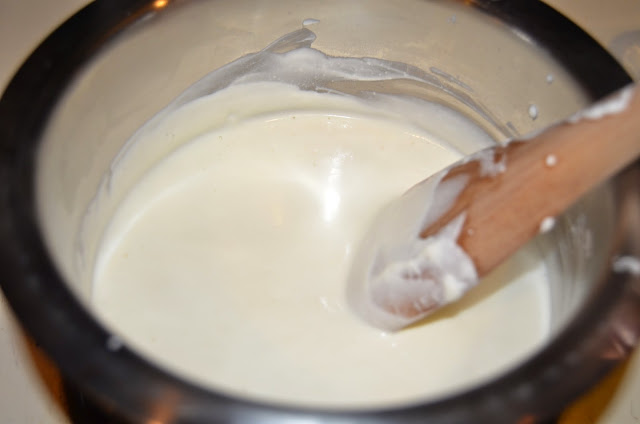
3.) Heat the half-and-half over medium heat and simmer it until it reduces to about half its original volume (approximately 12-15 min).


4.) Carefully add the cream cheese, stirring until its completely melted and well incorporated.


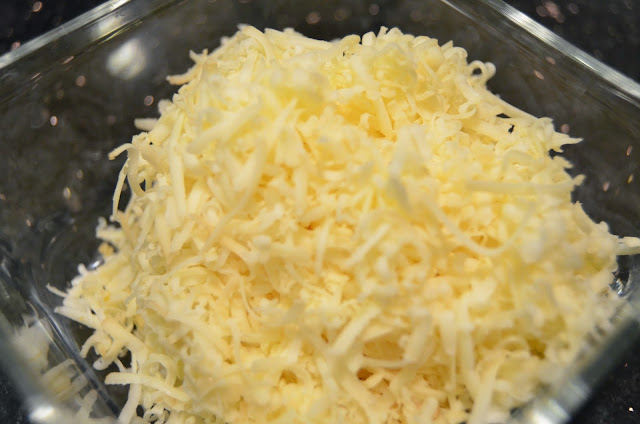
5.) Whisk in the cheddar and Gruyere, stirring until melted and well incorporated. 


6.) Add the chopped jalapenos, cayenne pepper, reserved pasta water, and a pinch of salt into the cheese mixture, and whisk thoroughly.


7.) Preheat the oven to 425 degrees F. Toss the pasta into 8 x 10 baking dish, and carefully pour the cheese mixture over the pasta.


8.) Toss the set aside butter and bread crumbs together, and spread the mixture evenly over the macaroni+cheese mixture.

9.) Bake for about 10 minutes, or until the cheese starts to bubble and the bread crumbs start to brown a bit.


10.) Allow the mac n cheese to cool for a few minutes, and then serve. Enjoy immediately (although the leftovers taste unbelievable as well!)